
Halloween dessert pops have become a must at our family parties, I mean, who doesn’t want bite-sized spooky sweets on a stick? Every year I think I can just buy something at the store and call it good, but nope, kids (and honestly adults too) expect those homemade vibes.
Plus, making them together is kind of the best chaos. This post will walk you through the basics, then show you how to decorate, assemble, and wow everyone at your party.
If you’re the type who loves themed desserts, check out our guide to Halloween snack ideas or find inspiration from DIY Halloween party treats to really set the scene.
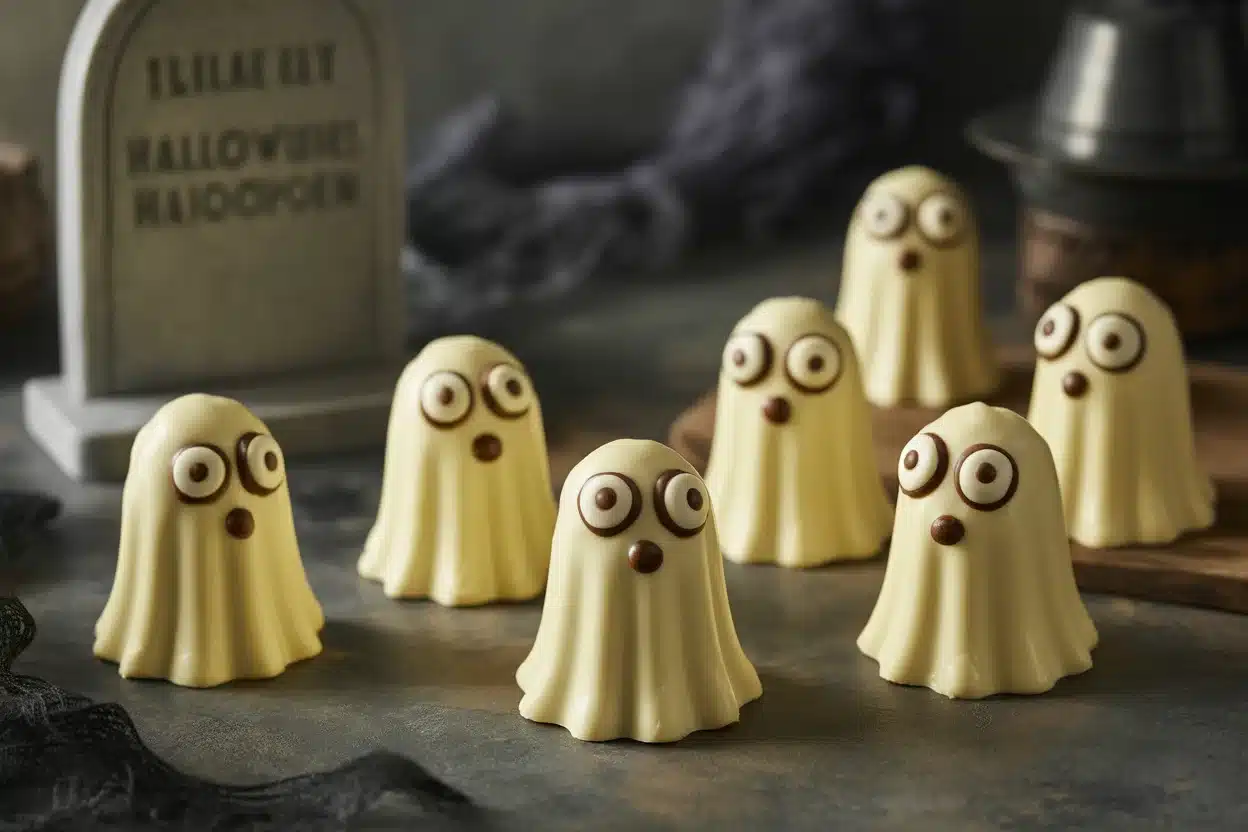
Tips on How to Make and Decorate Cake Pops
Let’s be honest, cake pops look super cute but making them can feel like tricky business. Luckily, once you do it once, you’ll see it’s really about patience and a lot of sprinkles. Here’s what I’ve learned (after a few lopsided pumpkins).
First—don’t cram too much icing in your cake mixture. Seriously, it should feel like play-dough, not mud. If it gets squishy, start over. For the best halloween dessert pops, keep your decorations simple at first. Go for googly eyes or basic monsters, then get fancy with vampire teeth or witch hats after you’ve got the hang of it.
Also, make sure to chill your cake balls before dipping—otherwise they’ll just crumble to pieces and nothing will stick (major fail). Candy melts work better than regular chocolate chips. Plus, the colors are perfect for a spooky theme.
The real fun is in decorating with friends or kids. Hand everyone their own tray of sprinkles or edible eyeballs. Warning: this WILL result in over-decorated pops and sticky fingers everywhere.
| Item Purpose Tips | ||
| Baked Cake | Base for cake pops | Any flavor works, but avoid super moist cakes. |
| Canned Frosting | Bind cake crumbs together | Vanilla is classic but feel free to experiment. |
| Lollipop Sticks | For easy handling | Buy extra as they are easy to misplace! |
| Candy Melts | Coating for pops | Use a combination of colors for a festive look. |
| Sprinkles & Toppings | Decoration | Get creative; kids love to choose their own! |
| Foam Block | To hold pops upright while setting | You can also use a deep cup. |
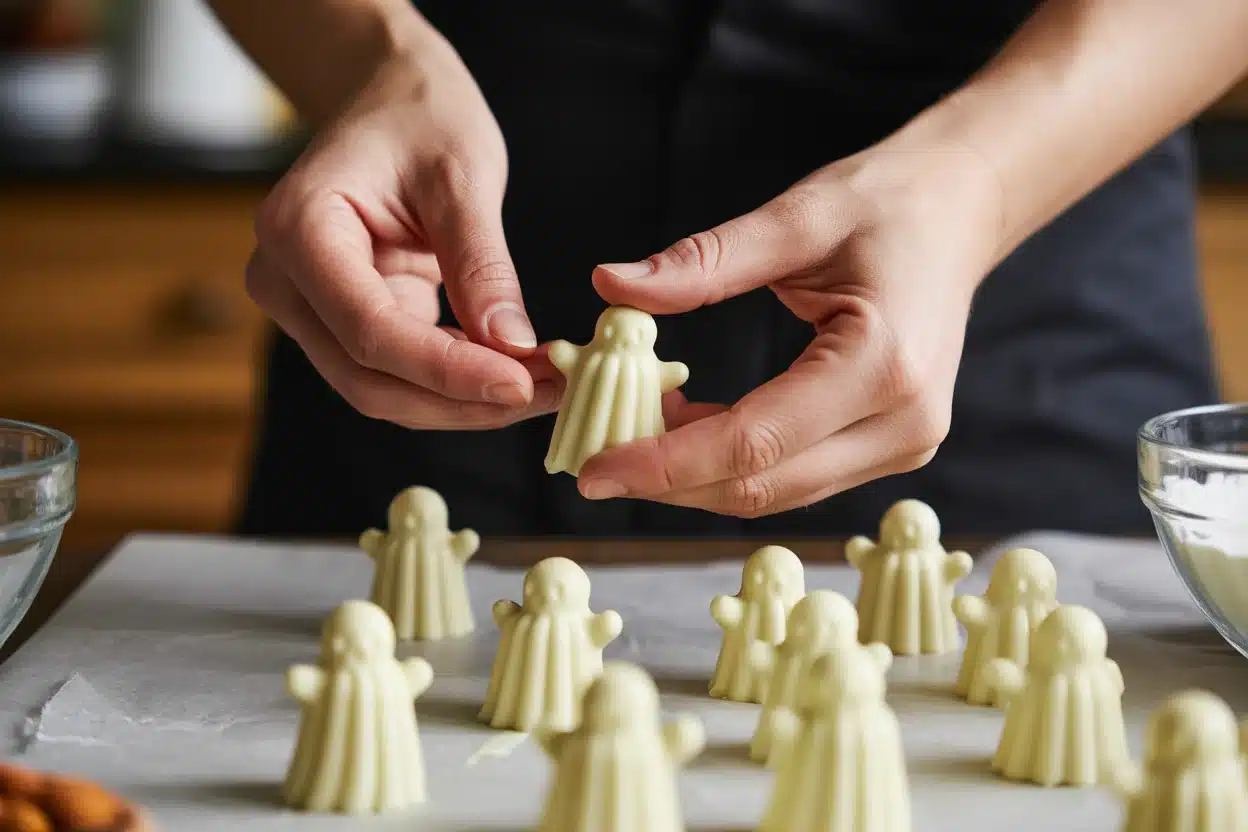
Step by step instructions on how to decorate and assemble
Here’s where the magic happens—decorating! If you’re new, take it slow. Don’t rush the dipping or your pops might fall off the sticks (ask me how I know).
First, dip just the tip of each stick into the melted chocolate, then push it halfway into the cake ball. Chill again for 10 minutes. Dunk the whole cake pop into melted candy coating, turning gently to cover. Let extra coating drip off by spinning the stick. You can now sprinkle on fun toppings—crushed cookies, mini eyeballs, colored sugar. For pumpkin shapes, add a green candy leaf. Place the finished pop upright in a foam block and let it set.
Decorating with piping bags is great if you’re feeling extra, but a toothpick works too for teeny details! I always do mummies and monsters first, then let the kids go crazy with the rest. Be ready for weird designs. If your pops start to crack, stick them back in the fridge for a bit. No need for perfection—go wild and have fun. Seriously, wobbly pops taste the same.
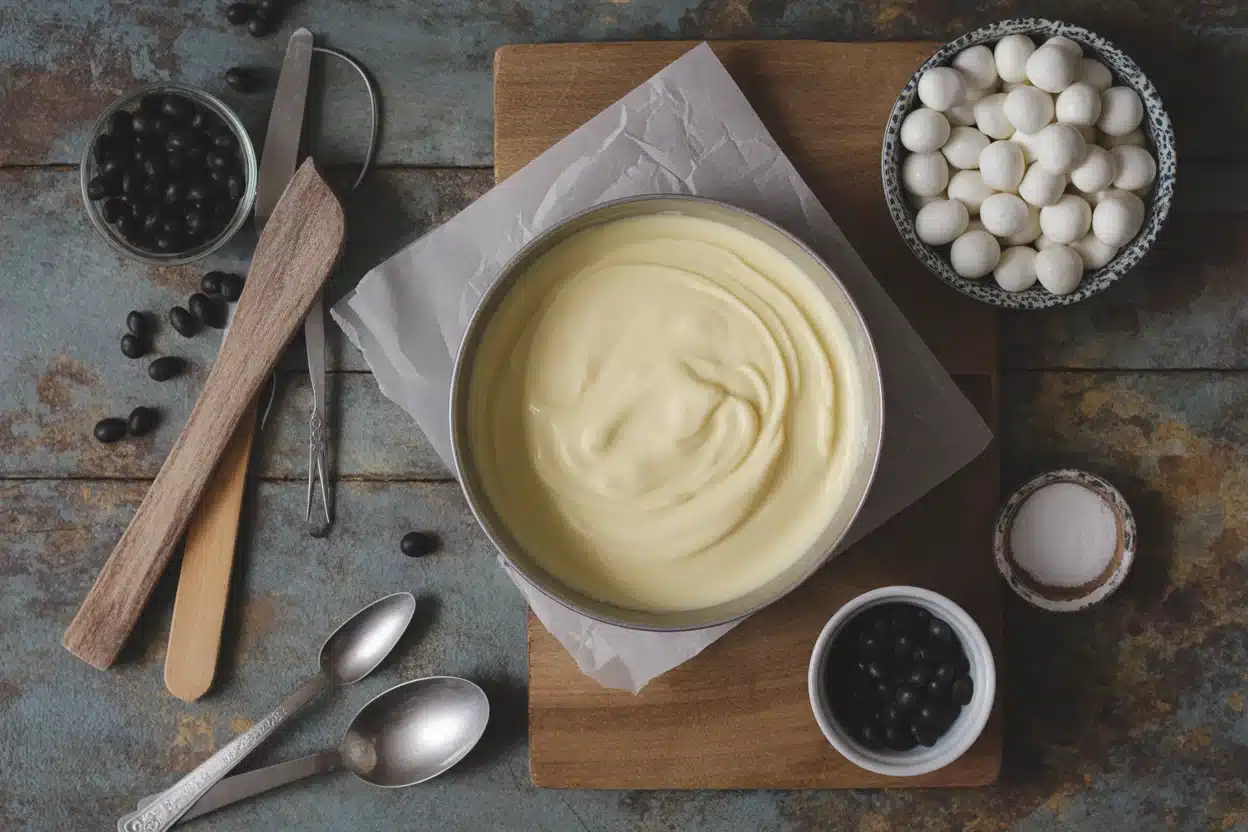
What you need to make these
Okay, here’s what you’ll need for classic halloween dessert pops. Nothing extra-fancy or pricey, promise.
- Baked cake (from a box mix or homemade, any flavor works)
- Canned frosting (go classic vanilla or get crazy)
- Lollipop sticks (buy an extra pack, kids lose them)
- Candy melts (at least two spooky colors)
- Sprinkles, candy eyeballs, colored sugars
- Styrofoam block or a deep cup for standing pops upright
That’s it. I tried getting clever and using pretzel sticks once—just don’t. Cake pops are heavy, and pretzels snap.
How to make these cake pops
First, bake your cake and let it cool completely. Crumble it into a bowl with your fingers—no fancy tools needed. Spoon in little globs of frosting and mash until the mixture sticks together (but isn’t dripping wet). Roll into balls about the size of a walnut.
Set them on a lined cookie sheet and chill in the fridge for an hour. Melt your candy melts following package directions. Dip each stick in the melt, jab into a cake ball, then chill again. When you’re ready, dunk the whole cake ball in melted coating, cover with sprinkles, and stand up in a foam block to set.
Sure, your first batch may look like lumpy ghosts or weird pumpkins, but that’s just part of the tradition—nothing is perfectly ghoulish at Halloween.
Pro-Tips and Notes
Oh boy, I’ve learned a few things the hard way. Don’t overheat your candy melts, or they’ll seize up and become useless (the chocolate equivalent of clumpy socks). If you want vibrant colors for your halloween dessert pops, get pre-colored melts. Food dye and white chocolate often end up pastel and sad.
Store finished cake pops in the fridge if you’re prepping ahead for a party. But, take them out about twenty minutes before serving so the coating isn’t rock-hard.
Want to make ahead? The undipped cake balls freeze well in a zip bag. Just thaw, dip, and decorate the day of your event.
Another random thing: If you’re serving outside, watch for sunbeams…melty monsters are only cute in theory.
- Serve on a spooky tray for extra “wow”
- Wrap in plastic and tie with orange ribbon for take-home treats
- Pair with green punch to make everything pop
- Let kids grab their own (but warn about sugar rush)
Are Halloween Dessert Pops Safe for Kids? Allergy and Safety Tips
Making Halloween dessert pops is not only fun, but it’s also a fantastic way to involve kids in party prep. However, keeping things safe and allergy-friendly is key. If you’re making treat pops for a group, always check for common allergens, nuts, dairy, gluten, and food dyes can be sneaky in candy melts and sprinkles. Opt for nut-free toppings if there’s any uncertainty, and check ingredient labels on frosting and decorations before you start.
For younger kids, always supervise decorating, especially when handling melted candy or sharp tools like piping bags and toothpicks. Stick to food-safe sticks and avoid using skewers or plastic stirrers. Homemade pops are safer than store-bought options because you control the ingredients, perfect for families dealing with allergies or special diets.
If you need vegan or gluten-free Halloween dessert pops, use allergy-friendly cake mix and frosting, plus certified-safe toppings. A quick scan of labels or a run to the allergy-free aisle can make your party treats inclusive for everyone.
One last safety tip: store decorated pops out of reach if little ones are running around pre-party, excited kids and lollipop sticks can get wild fast. With some smart planning, your Halloween dessert pops will look festive and be safe for everybody to dig in!
Common Questions
Can I Freeze My Finished Pops?
Yup, you can. Just wrap them up tight first. Flavor holds up well for about a month.
What If My Coating Cracks?
Sounds like your cake pops were too cold. Let them warm a minute before dipping to prevent cracking.
Do I Have to Use Candy Melts?
No, but they give the best color and crunch for Halloween dessert pops. White chocolate can work, but the texture’s different.
Any Tricks for Making the Sticks Stay Put?
Dip the stick in melted chocolate before inserting. It helps it glue in place—kind of like a popsicle.
Can I Use Homemade Frosting?
Sure can—just be sure it’s nice and thick, not soupy, or the cake balls will get too soft and won’t hold their shape.
Are Halloween Dessert Pops Safe for Kids?
Yes, with supervision! Let kids help decorate, but handle melted candy, piping bags, and toothpicks carefully. Always use food-safe sticks and avoid skewers. Store pops out of reach before serving, especially if kids are running around.
How Can I Make Allergy-Friendly Halloween Pops?
Use vegan or gluten-free cake mix and frosting, and check all toppings for allergens like nuts, dairy, or food dyes. Always read labels and stick to nut-free or certified allergy-safe decorations.
Ready to Try Making Them?
Honestly, no store-bought treat brings the same fun or wow factor as homemade halloween dessert pops. Little imperfections make them even better, and kids always want to show off their weirdest or cutest creations. Grab the essentials and give it a try this year—you’ll see it’s way easier than it looks. And hey, if you need more inspiration, check out these Halloween Cake Pops from Art and the Kitchen or even more creative halloween cake pop ideas online. Get your sprinkles ready, don’t sweat the mess, and just have fun. It’s spooky season, why not make it sweet?
Halloween Dessert Pops
Ingredients
Cake Pop Base
- 1 box Baked Cake Any flavor works, but avoid super moist cakes.
- 1 can Canned Frosting Vanilla is classic but feel free to experiment.
Assembly Materials
- 12 pieces Lollipop Sticks Buy extra as they are easy to misplace!
- 2 cups Candy Melts Use a combination of colors for a festive look.
- 1 cup Sprinkles & Toppings Get creative; kids love to choose their own!
- 1 block Foam Block To hold pops upright while setting or use a deep cup.
Instructions
Preparation
- Bake your cake and let it cool completely.
- Crumble the cake into a bowl using your fingers.
- Spoon in globs of frosting and mash until the mixture sticks together, but isn’t dripping wet.
- Roll the mixture into balls about the size of a walnut.
- Place them on a lined cookie sheet and chill in the fridge for an hour.
Assembling and Dipping
- Melt your candy melts following package directions.
- Dip just the tip of each stick into the melted chocolate, then push it halfway into the cake ball.
- Chill again for 10 minutes.
- Dunk the whole cake pop into melted candy coating, turning gently to cover.
- Let extra coating drip off by spinning the stick.
- Sprinkle on fun toppings such as crushed cookies, mini eyeballs, or colored sugar.
- Insert finished pops upright in the foam block to allow them to set.
Decorating
- Use piping bags for decorating or a toothpick for small details.
- Let the kids express their creativity with their own decorations.
- If your pops start to crack, put them back in the fridge for a bit.