
Santa Cheese Board is a festive appetizer that brings smiles before the first bite. When you need a holiday snack that’s cute, affordable, and quick to prepare, this cheese board fits the bill perfectly.
Using simple ingredients like assorted cheeses, crackers, fruits, and nuts, you can create a visually appealing spread without special tools or professional skills. The key is arranging the components thoughtfully on any serving board or platter to resemble a cheerful Santa-themed design.
With just 20 minutes of prep time, this appetizer adds instant holiday charm to your gatherings. It’s perfect for last-minute parties, family celebrations, or as a starter that everyone will enjoy.
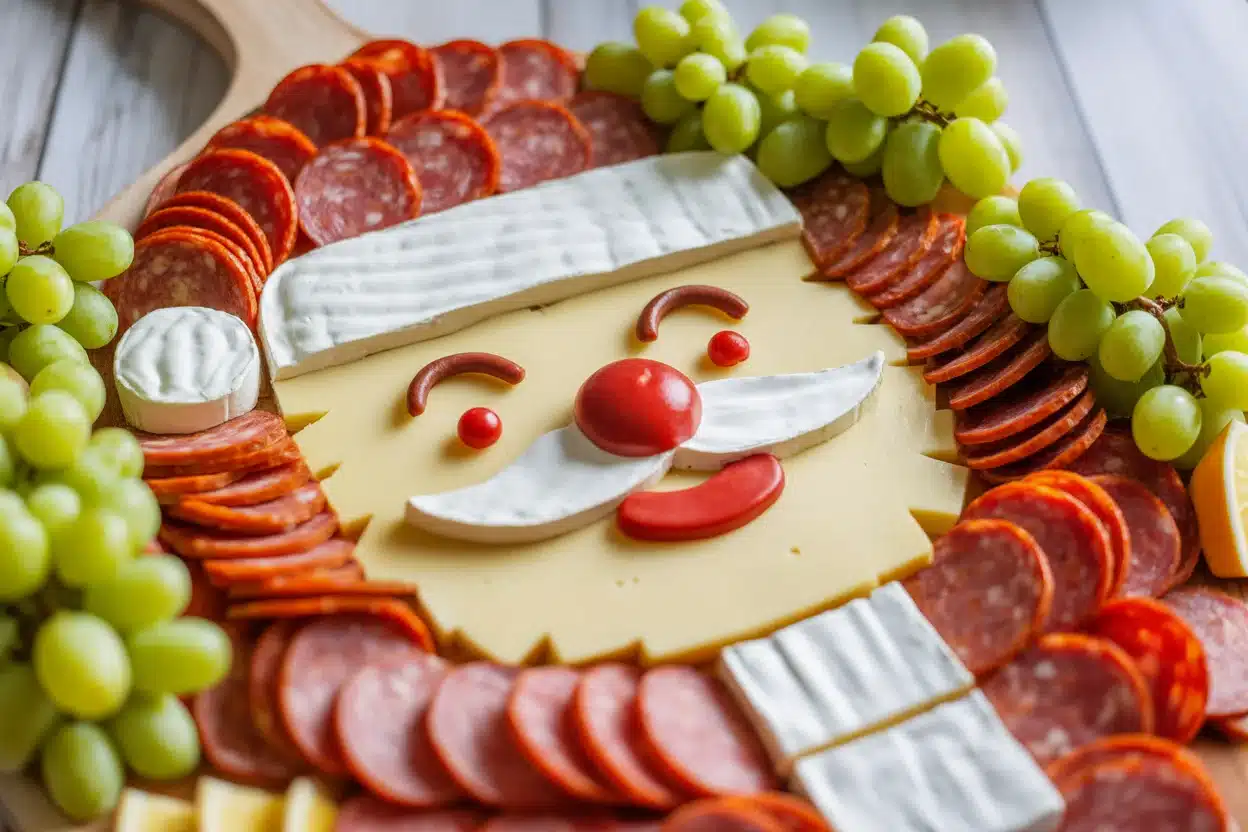
How to Make a Santa Cheese Board for Christmas
Every great Santa board starts with the face. Think simple shapes and friendly features. I outline the face with slices of cheese, use meats for the hat, and berries for the rosy beard. You can customize it with whatever you already have at home. Here is a quick way to map it out so you are not guessing as people arrive.
What you will need
- A flat board or platter, at least 12 inches wide
- 2 to 3 kinds of cheese: something creamy like brie or camembert, something firm like cheddar or gouda, and a mild option like Monterey Jack
- Thinly sliced meat for the hat: salami, pepperoni, or prosciutto
- Fresh fruit for color: strawberries, raspberries, and red grapes
- Crackers or bread for scooping and crunch
- Olives or chocolate chips for eyes and buttons
- A small bowl for mustache dip or honey
Plan first: Lay parchment on your board if you want easy cleanup. Sketch Santa in your head: a large oval for the face, a triangle hat, a fluffy beard, and a pom-pom at the end of the hat. Start with the outline, then fill the center.
Shape the face: Use pale cheese like sliced provolone or thin cheddar squares to form an oval face in the lower center of the board. Overlap slices slightly so there are no gaps.
Build the hat: Fan out slices of salami into a triangle above the face. Tuck a few slices under the face cheese so it looks attached. For the hat brim, line up round crackers or folded cheese slices.
Fluff the beard: Add clusters of cauliflower florets, small mozzarella balls, or fluffy popcorn for whimsy. If you want a sweet twist, use marshmallows for a dessert version at a kid party.
Add details: Press two olives or chocolate chips into the face for eyes. A slice of strawberry makes a perfect nose. Finish with a big strawberry or a round piece of brie as the pom-pom at the hat tip.
Color and crunch: Tuck raspberries, red grapes, and sliced strawberries around the hat to make the red pop. Fill spaces with crackers and nuts so guests have something to nibble with the cheese.
Pro tip: Keep a small knife near soft cheese and a little spoon near any jam or honey so people can easily serve themselves.
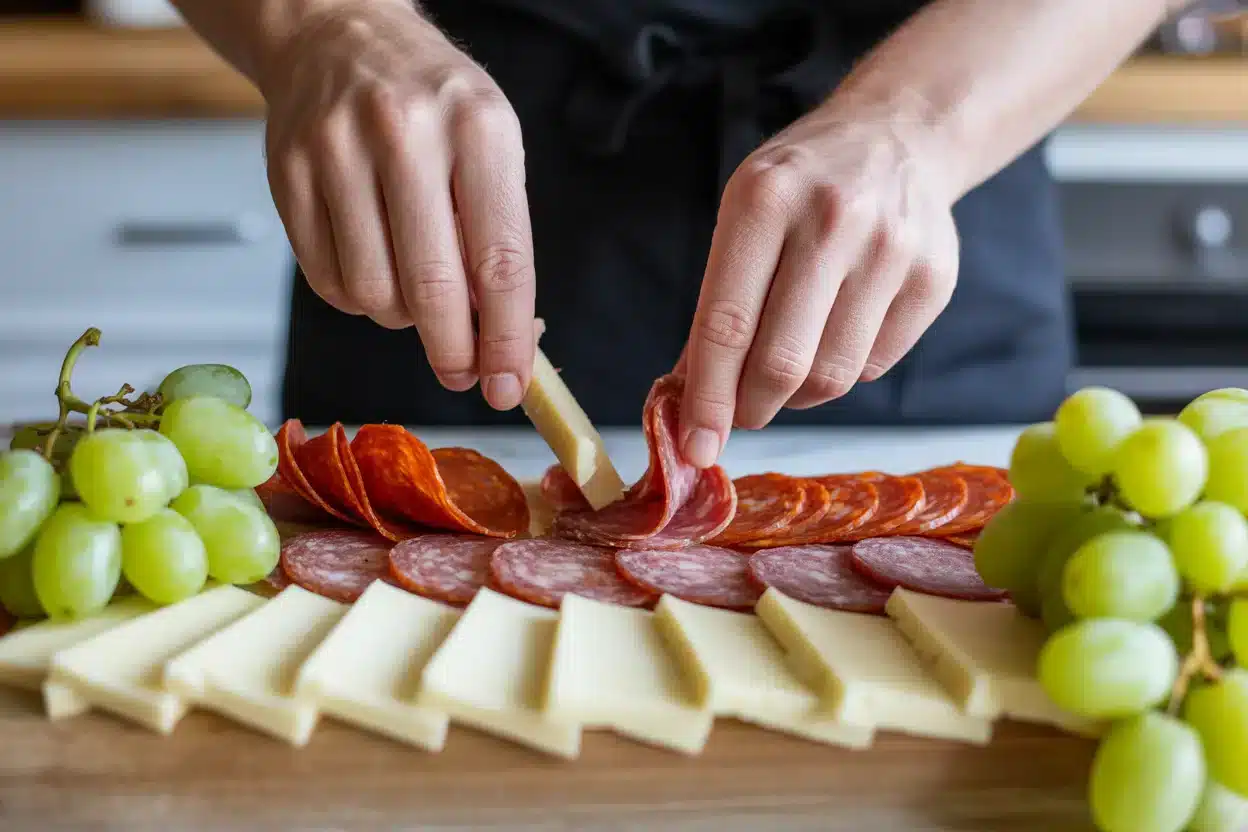
What types of Meat and Cheese can I use for this Cheese Board?
The best part of a Santa board is that it is fully flexible. I like to mix textures and flavors so the board feels complete without overwhelming anyone. Keep about a half inch between meats and cheeses so the shapes stay clear and clean.
Good choices that never fail
- Creamy cheese: brie, camembert, burrata, goat cheese
- Firm cheese: cheddar, gouda, manchego, provolone
- Mild cheese: Monterey Jack, Havarti, mozzarella
- Salty meats: salami, pepperoni, prosciutto, capicola
- Red fruits: strawberries, raspberries, cherries, red grapes
- Crunch: water crackers, pretzel thins, toasted baguette slices
Allergy tip: If you have guests who are gluten free, keep crackers in a separate corner or offer rice crackers. For dairy free friends, swap cheese for hummus scoops and white bean dip to shape the beard. You can still form the same Santa pattern with creamy dips and veggie slices.
Budget tip: Use fewer varieties but bigger portions. Two cheeses, one meat, and lots of seasonal fruit still look amazing. Aim for about 2 ounces of cheese per person when the board is a starter, a bit more when it is the main snack.
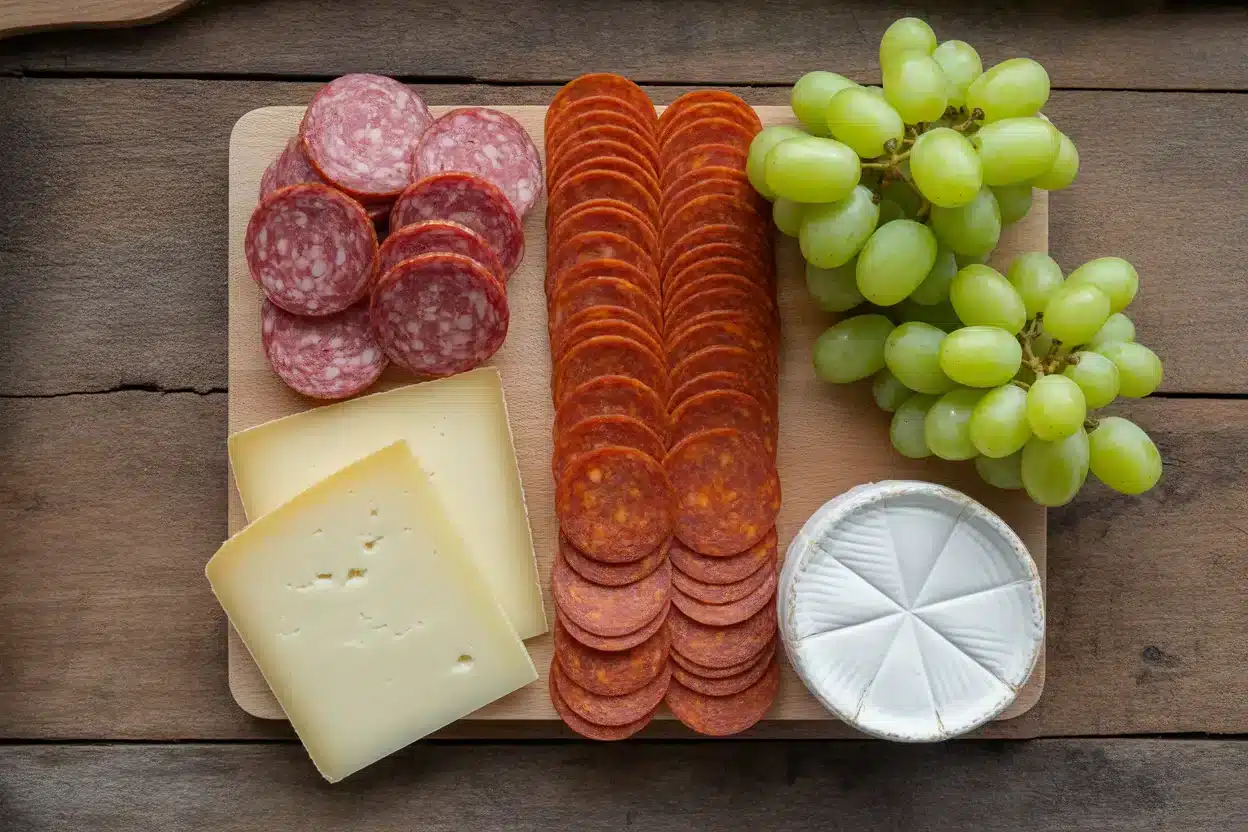
When would be a good time to serve this Santa Christmas cheese board?
I set this out anytime I want a cheerful moment without a lot of work. It is especially good when people walk in hungry and you still need a few minutes to finish cooking. Set the board on the coffee table, add napkins, and you are set.
Here are times it shines:
Christmas Eve before dinner while everyone unwraps a small gift. Holiday brunch with eggs, fruit salad, and cinnamon rolls. Classroom parties when you want a fun look that is still easy to serve. Neighborhood get-togethers with hot cocoa for the kids and mulled cider for the adults. Movie night while streaming a favorite classic. Cookie exchange for a savory break between sweet bites.
If you are planning a bigger gathering, skim my list of Christmas party tips so you can prep ahead and keep your kitchen calm. A little planning goes a long way during the holidays.
Storage tip: Chill soft cheeses and fruits until about 30 minutes before serving so they taste their best. Keep extra crackers in a sealed bag to refill the board if it starts to look picked over.
Easy Santa Christmas Cheese Board
I love the Instagram-worthy boards, but real life is busy. This easy version is for those nights when time is short and you still want something festive. It is also a perfect job for kids who want to help in the kitchen.
Here is my fast method:
Use pre-sliced cheese and meat so you can skip the cutting step. Round slices stack and fan out nicely for the hat and brim. Square slices overlap into a clean oval face.
Pick one red fruit like strawberries, and one neutral fruit like green grapes. This keeps costs down and makes the design easier to see. If strawberries are expensive, use raspberries or diced red apple with a squeeze of lemon to prevent browning.
Shape with bowls: Place a small round bowl of white dip for the pom-pom and a longer bowl for the mustache. Fill them with yogurt, ranch, or whipped cream cheese to keep the white color for Santa. Bowls give you crisp edges without much effort.
Keep the board small: A dinner plate works in a pinch. The key is filling the space so Santa looks complete. Leave a tiny border of the plate showing for contrast.
Add simple accents: Honey or fig jam for sweet lovers, grainy mustard for savory fans. A pinch of chopped rosemary makes the board smell like a tree farm and adds a pretty green touch.
When you need a crowd pleaser, remember this mantra: Whip Up a Festive Santa Cheese Board Everyone Will Love! Do not overthink it. Just keep the colors bold, the shapes friendly, and the flavors familiar. If the board makes you smile, your guests will feel it too.
Santa Charcuterie Step-by-Step Photos
I get a lot of requests for step photos. Here is the order that makes the most sense and keeps your design clean.
Step sequence to follow
1. Place parchment on the board. Put down the face first using pale cheese slices. Aim for an oval that takes up the lower half of the board.
2. Fan salami or pepperoni into a triangle above the face. Tuck some slices under the face cheese to connect them. Save one round of brie or a big strawberry for the pom-pom.
3. Create a brim with crackers or folded cheese. Keep the brim straight and wide so the face looks balanced.
4. Build the beard with mozzarella pearls, cauliflower florets, or popcorn. Pile it high so it looks fluffy.
5. Add eyes with olives or chocolate chips. Use a strawberry slice or a cherry tomato for the nose. If you want a mustache, shape it out of sliced provolone and curve the ends slightly.
6. Fill gaps with fruit and nuts. Raspberries and red grapes pop best against pale cheese. Almonds and pistachios add texture and make the board feel generous.
7. Drizzle honey near the creamy cheeses and place a small spoon nearby. Set a tiny bowl of grainy mustard near the meat side.
8. Clean the edges of the board, then chill for 10 minutes. Bring it back to room temp right before guests arrive so the cheese is soft and the fruit is juicy.
For simple swaps and faster prep, check out my quick list of kid friendly snacks that also work as last minute fillers on your board.
Last reminder: if the board travels, wrap it loosely with plastic wrap so details do not shift. Keep crackers in a bag and add them when you arrive.
One more time for the folks in the back: Whip Up a Festive Santa Cheese Board Everyone Will Love! It really is that easy.
Common Questions
How far in advance can I assemble the board?
You can lay out the face and hat up to 4 hours ahead. Keep fruit and crackers separate and add them right before serving so everything stays fresh.
How do I keep cheese from drying out?
Brush soft cheese with a tiny bit of olive oil or cover the board with plastic wrap and chill. Unwrap 20 minutes before guests arrive for best texture.
What if I do not eat pork?
Use turkey pepperoni or thinly sliced smoked turkey for the hat. You can also skip meat and use rows of red bell pepper strips instead.
How big should the board be for 10 people?
Aim for a 16 inch board and use about 1.5 pounds of cheese total plus 10 to 12 ounces of meat. Add plenty of fruit and crackers to fill it out.
What are smart leftovers ideas?
Chop leftover cheese and fruit into a salad or make grilled cheese with brie, jam, and a few berries on the side. Salami crisps up nicely in a skillet for breakfast eggs.
Happy Holiday Snacking From My Kitchen
You do not need fancy gear to create holiday cheer. With a few basics and a playful layout, you can Whip Up a Festive Santa Cheese Board Everyone Will Love! every single time. Start with the face, build the hat, fluff the beard, and fill the gaps with color. If you want another friendly walkthrough, this guide on How to Make a Santa Cheese Board for Christmas is super helpful. For a streamlined version, I also love this Easy Santa Christmas Cheese Board that keeps things simple without losing the wow factor.
Try it this weekend and tag me with your version. I cannot wait to see your board shining on the table.
Santa Cheese Board
Ingredients
For the Santa Board
- 2 to 3 kinds kinds of cheese (brie, cheddar, Monterey Jack) Use creamy, firm, and mild options.
- 100 grams thinly sliced meat (salami, pepperoni, prosciutto) For the hat.
- 1 cup fresh fruit (strawberries, raspberries, red grapes) For color and decoration.
- 1 box crackers or bread For scooping and crunch.
- 1 small bowl olives or chocolate chips For eyes and buttons.
- 1 small bowl mustache dip or honey For mustache detail.
Instructions
Preparation
- Lay parchment on the board for easy cleanup.
- Shape the face with slices of pale cheese like provolone or cheddar in an oval.
- Build the hat using fanned-out slices of salami above the face.
- Create a brim using round crackers or folded cheese slices.
- Fluff the beard with mozzarella balls, cauliflower florets, or popcorn.
- Add eyes with olives and a nose with a slice of strawberry.
- Finish with a pom-pom using a big strawberry or round brie on the hat tip.
- Fill in gaps with fruit and nuts for added color.
- Drizzle honey near creamy cheeses and add any additional dips as needed.
- Chill the board for 10 minutes before serving and serve at room temperature.